First launch
Choose or create a library folder, then work through the Getting started checklist.
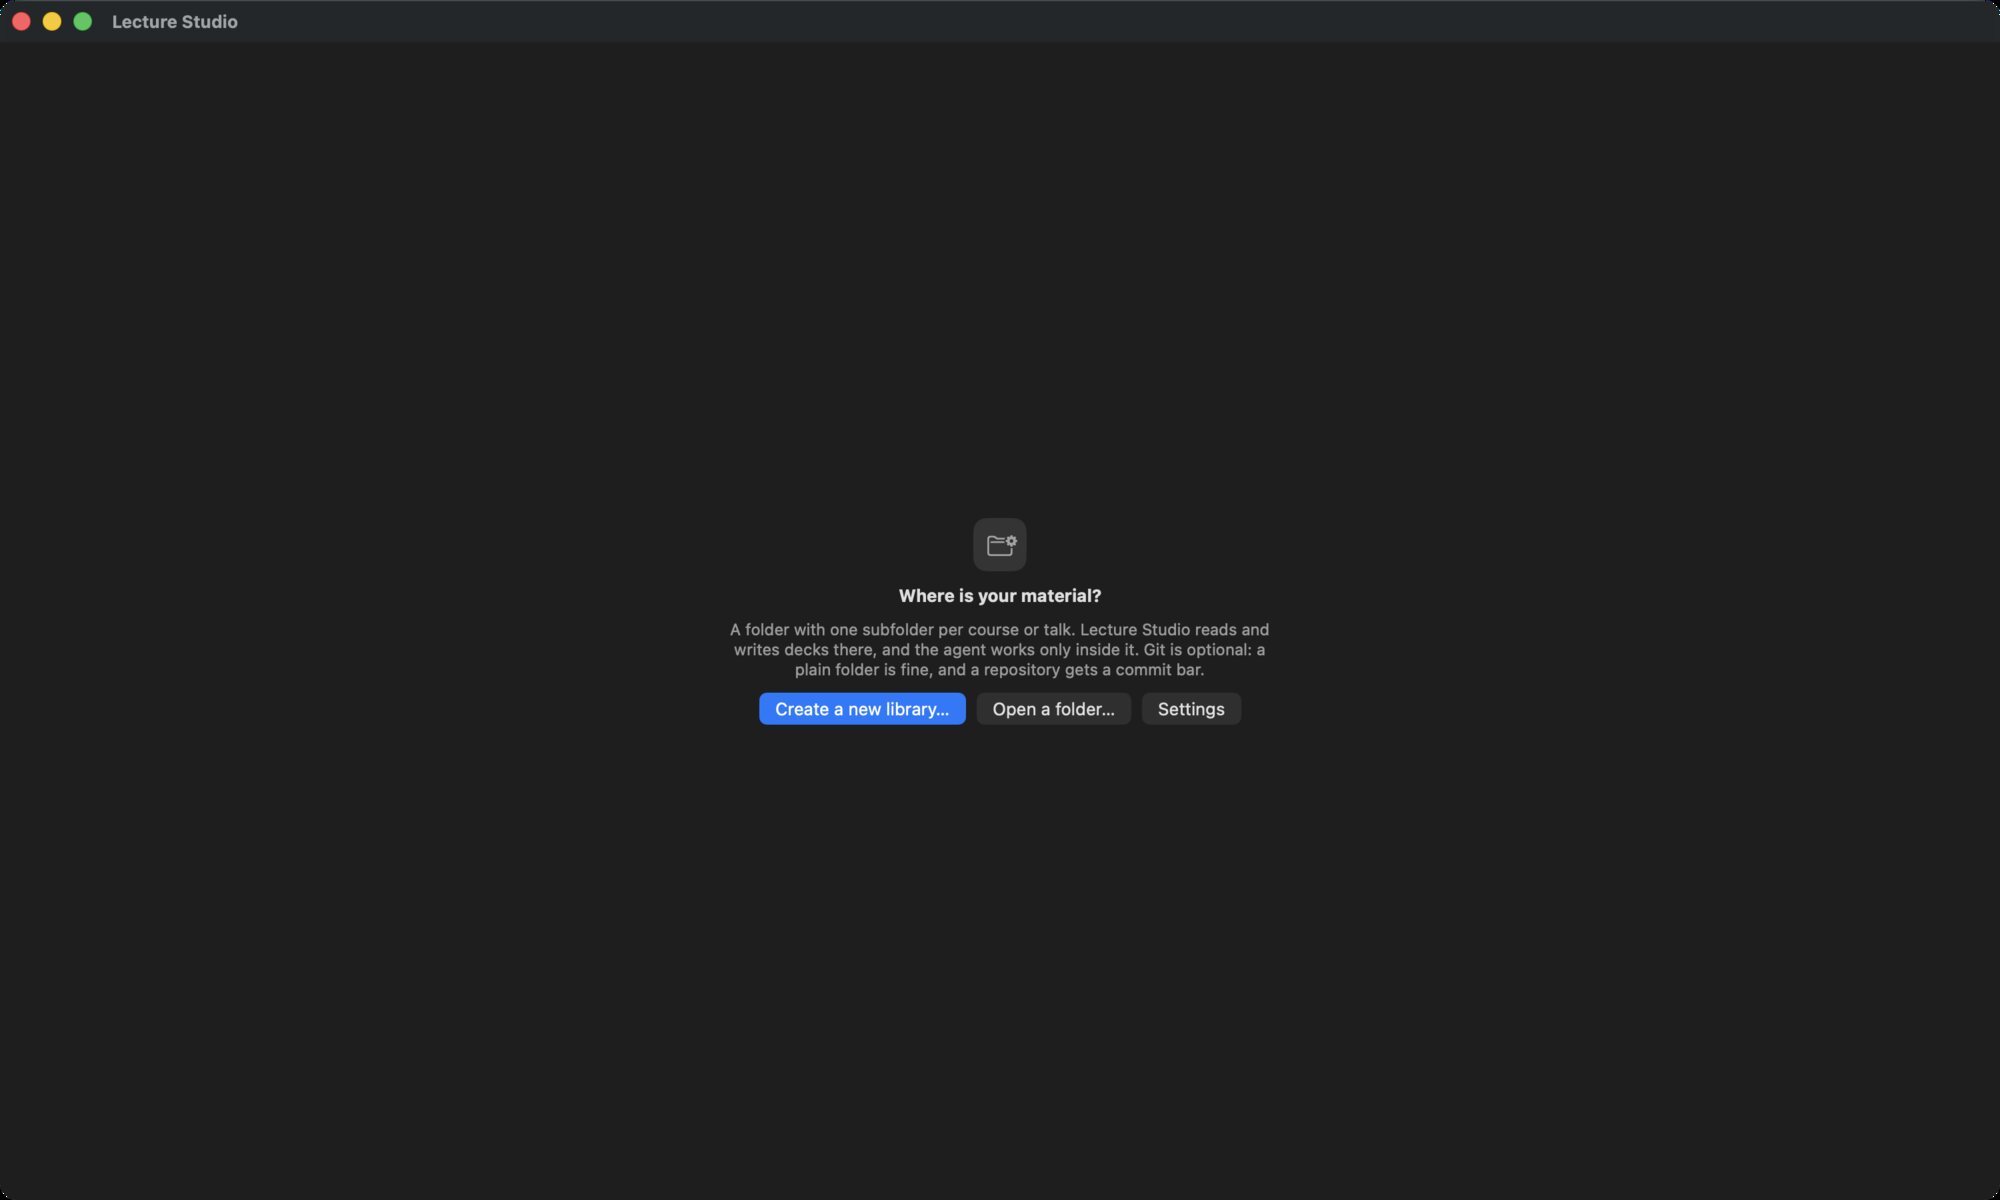
On the first launch the app has no library to open, so it asks for one. A library is a folder with one subfolder per course or talk. The app reads and writes decks there, and the assistant works only inside it.
Choose a library folder#
- Create a new library… asks for a name and a place (it suggests
Lecture Studioin Documents) and creates an empty folder there. - Open a folder… opens an existing folder. Any folder works, including a git checkout of material you already have. Subfolders that hold a Marp deck or a
studio.jsonbecome courses and talks; see Files on disk for how the app reads a folder. - Settings opens the Settings window, where the library path can also be typed or picked.
The chosen path is remembered. To switch libraries later, use Settings › Library › Choose… and then Open this folder. The library can also be set from the shell with the LECTURE_REPO environment variable, which wins over the saved path.
The Getting started checklist#
An empty or nearly empty library shows a Getting started card on the library screen with four steps. Each step has a button that opens the right dialog, and a step ticks itself when it is done.
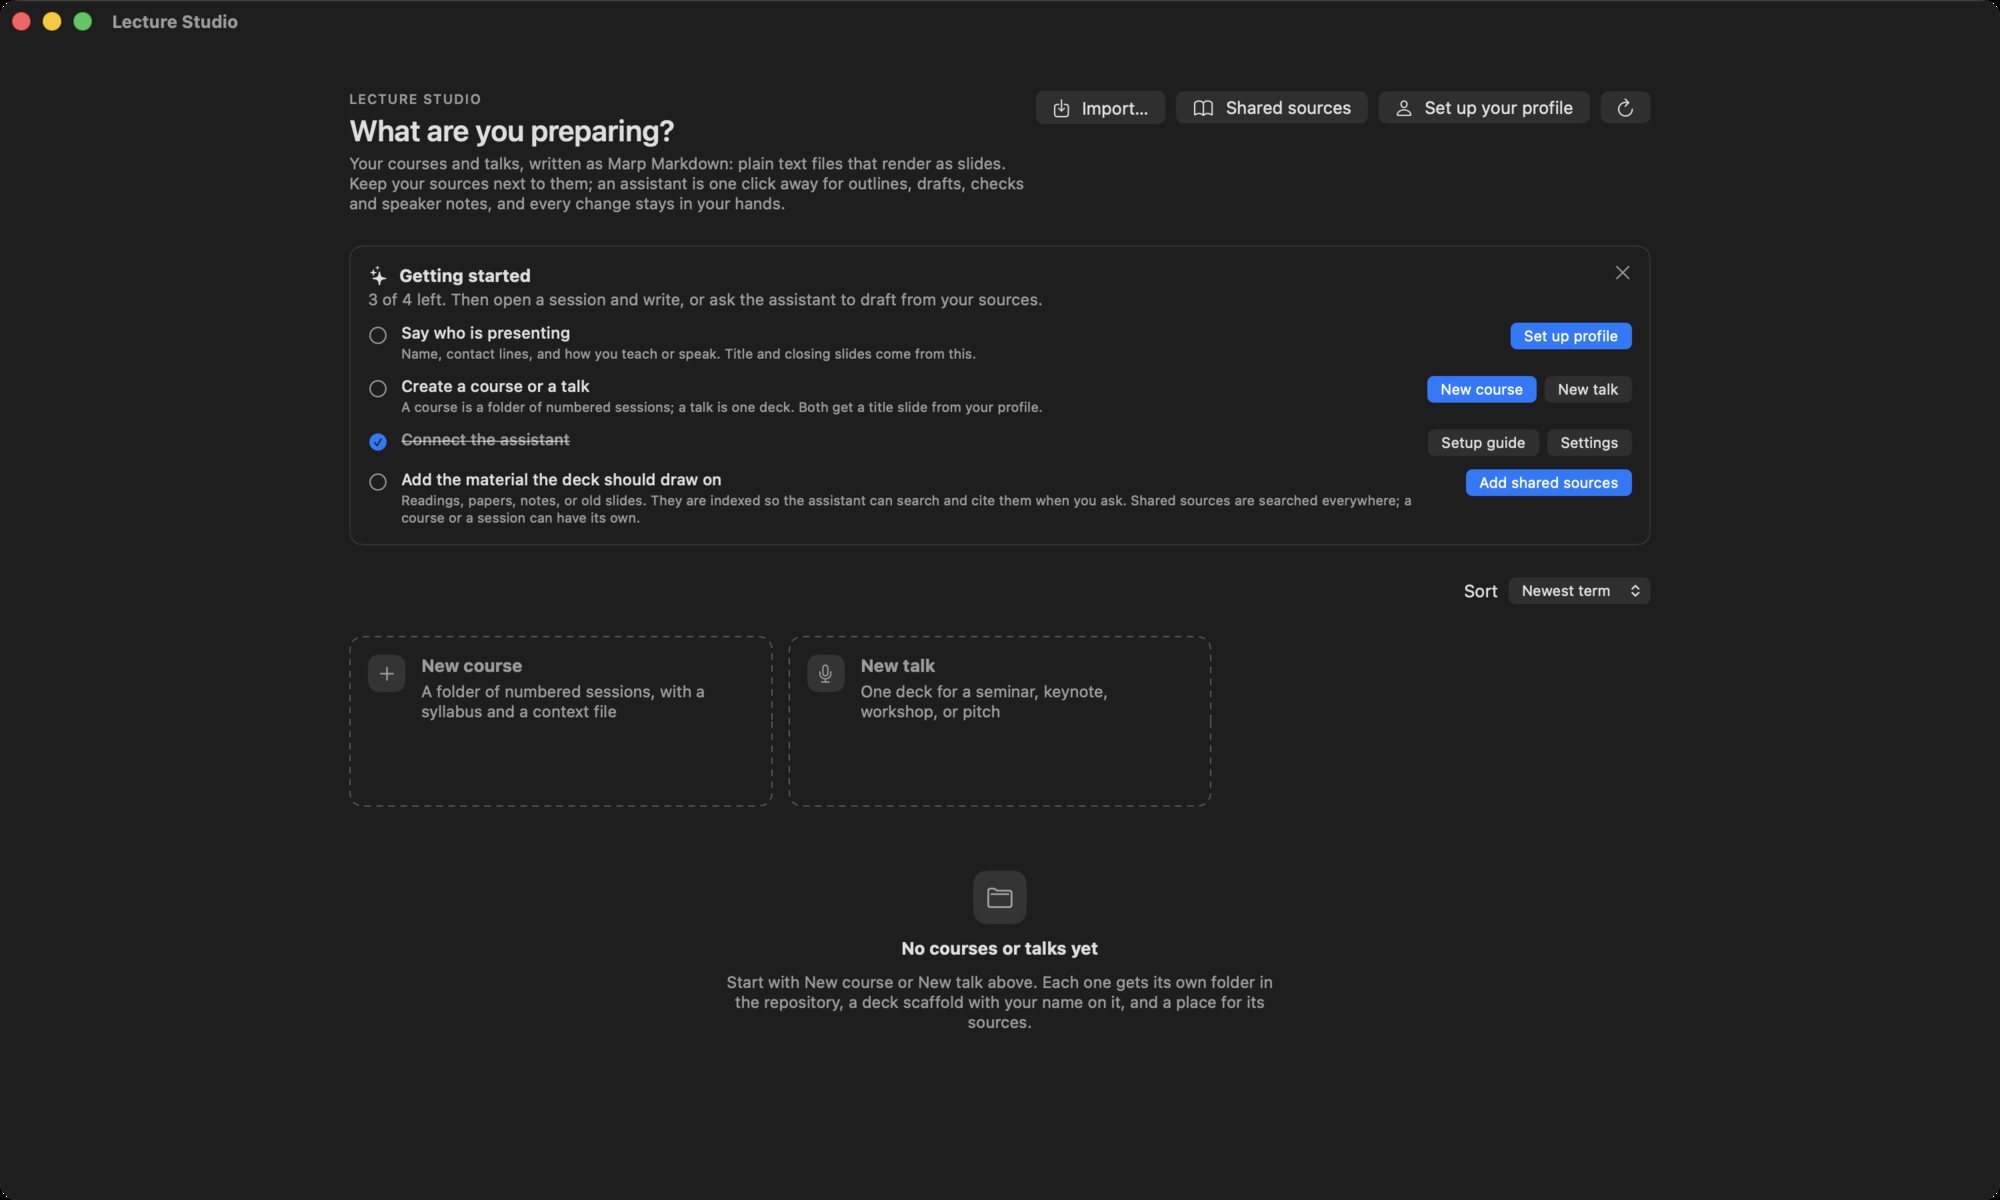
- Say who is presenting. Name, contact lines and how you teach or speak. Title and closing slides of new decks come from this. Opens the presenter profile.
- Create a course or a talk. A course is a folder of numbered sessions; a talk is one deck. Both get a title slide from your profile. See Courses and talks.
- Connect the assistant. The assistant runs on an Oberik project you own. Setup guide opens the step-by-step guide on this site; Connect… opens Settings. See Connect the assistant.
- Add the material the deck should draw on. Readings, papers, notes or old slides, indexed so the assistant can search and cite them. Add shared sources opens the sources dialog for material every course and talk can use.
The close button in the card's corner hides it for good; the profile button and the create cards below it stay. When all four steps are done the card says so and goes away on the next visit.
Profile from git
If the library is a git repository and has no profile yet, the profile dialog is pre-filled from git config user.name and user.email.
What happens next#
Open a course, pick a unit, and the workspace opens with the deck. The app remembers the last course, unit and file, and returns there at the next launch.